How to Make an Advising Appointment
Advisors assist students in-person by appointment only and virtually by Zoom, phone, and email.
Step 1: Find your Advisor
Find your program on the list below to see who your assigned advisors are.
If you're in the Catto scholarship program, click here for instructions on how to make an advising appointment.
Note: Students can schedule appointments no more than two weeks in advance. New appointments are posted every Wednesday during the summer four-day work week. If you do not see an appointment available for an advisor assigned to your major, check back on Wednesday. Scheduling with an advisor not assigned to your program will result in a cancellation.
| Catto Scholarship | Advisors |
| All Programs |
| Northeast Regional Center | Advisors |
| All Programs | Amanda Mallon Khalica Collins |
| Arts and Sciences | Advisors |
|
Acting proficiency certificate |
| Business, Technology and Transportation | Advisors |
|
Accounting |
Caron Guillory Eric Lee Kristen Miah |
| Education and Human Services | Advisors |
| Addiction Recovery proficiency certificate Behavioral Health/Human Services Behavioral Health/Human Services proficiency certifcate Criminal Jusice Digital Investigations proficiency certificate Early Childhood Education proficiency certificate Education: Early Childhood (Birth to Grade 4) Education: Middle and Secondary Education Electronic Discovery proficiency certificate Human Services academic certificate Human Services Leadership: Youth, Family and Community Engagement proficiency certificate Law and Paralegal Studies Paralegal Studies proficiency certificate Psychology Restorative Justice proficiency certificate Special Education |
| Health Care | Advisors |
| Community Health and Wellness proficiency certificate Dental Hygiene Diagnostic Medical Imaging Health Care Studies Health Services Management Medical Assistant proficiency certificate Medical Insurance Billing proficiency certificate Medical Laboratory Technician Nursing Patient Services Representative proficiency certificate Personal Training proficiency certificate Public Health Respiratory Care Technology |
Aaron Helton-Holloman Brenda Torres Erika Vega Shannon Edwards Kim Harris Tomi Abayomi |
Note: If you do not see your program listed, please contact Academic Advising to ask who your advisors are.
Step 2: Log into Starfish
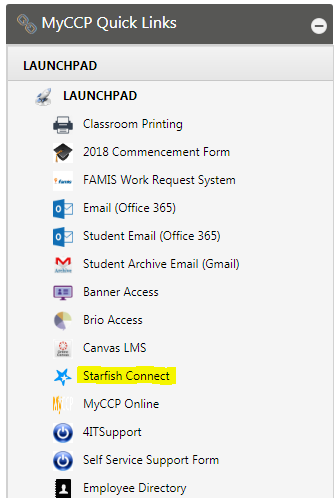
Log into your MyCCP account and click the Starfish Connect link located in the Launchpad on the left side of the screen.
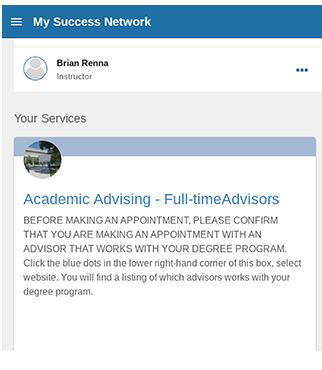
Step 3: My Success Network screen.
The Full-Time Advisors service will be the first service listed. Full-time advisors are program specialists. Click on Full-Time Advisors to schedule an appointment.
Step 4: Locate Your Advisor
Scroll through the list of full-time advisors until you find your advisor. Click on the 3 blue dots next to an advisors name, and then click on SCHEDULE.

Step 5: Let Us Know What You Need
Click on the arrow on the far right hand side of the screen. Once clicking on the arrow, the reasons for appointments will be displayed. You will need to select a reason and then click CONTINUE.

Step 6: Sign Up for an Appointment Time
A calendar will appear on the right hand side of the screen, select a range of dates that work best you. Next, select a time (click on SHOW MORE TIMES to get additional appointment times). Then click CONTINUE.
. Then click CONTINUE.")
Step 7: Confirm
Click the CONFIRM button.

